

 Well, since I have a bun in the oven, everything around our house has sorta of gone baby on us...I mean, there is an actual crib in our house- WHAO! So exciting! So of course I had to get all hyped up about making the baby's bedding.....at first I thought, "ugh, this is going to be much too much of a hassle, I should just buy something." Well so then I started looking around on websites, and instantly became obsessed with Serena & Lily - their 3 piece crib bedding sets are adorable! Great fabrics, so cute, etc., etc. Well, the not so cute thing about them is the price- like seriously, $580 for crib bedding? You've got to be kidding me! So that wasn't gonna happen.....and since I have this lovely fabric store here in Nashville, Textile, which carries THE CUTEST fabrics, I knew that if I could figure out how to make the stuff, I'd have something just as adorable as Serena & Lily for at least 1/2 the price. TA DAAAA! This stuff was way easier to make than I anticipated- don't get me wrong, it's a big project, and you have to be ready to spend some time on it, but I am so happy that I went for it, and I know all of you over-zealous, (and especially first-time), expectant gals out there can do it too! I'm not going to get in the nitty-gritty step-by-step on this stuff, but I want to generally share how I made all of this.....so take a look at the pics below....
You'll need 8 pieces of fabric to make the body of your bumpers- 2 pieces for each bumper. You'll also need any piping and other trim that you want to use to embellish the style of the bumpers. Finally, you'll need something that will serve as the ties that will attach to the crib itself. Here I made my own ties to match the fabric I bought, but you can also use any ribbon you like. For each bumper, I put one tie on each of the four corners, and then 2 set of ties on the top and bottom of the long bumper as well. This way you'll use the corner ties from adjacent bumpers to tie onto the crib posts. 

Once you have all of your pieces ready to go, you need to assemble the bumpers from the inside out. So lay one of your pieces of fabric down, right-side-up, then start to place all of the other pieces where they need to go. Any piping or trim you're using will lay with the rough edges lined up with the top of the pieces of main fabric. Same goes for the tie pieces- they will all be placed so that the ends of the ties that will go around the crib bars will be in the middle of the body piece of fabric and the rough ends will be placed right on the edges of all four corners (and in the case of your long bumpers that run the longest length of the crib, you'll need a set of 2 ties on top and bottom to tie around the middle bars of the crib). Once you have all of the pieces situated like so, lay the other piece of body fabric right-side-down on top of everything else, then pin together. Then you're ready to sew it up. Sew all around all four sides, leaving only about a 6-8 inch opening on the bottom edge of each bumper so that you can stuff them. Once you have it sewn up leaving the stuffing hole, turn the bumpers right-side-out. Then stuff!  Finally, sew up the 6-8 inch stuffing hole by folding the edges inward and pinning in place. Tip- if you've chosen to use any piping or trim, use a zipper foot to sew around those sides, which makes the machine work easier. Good luck!


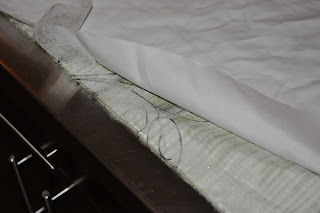
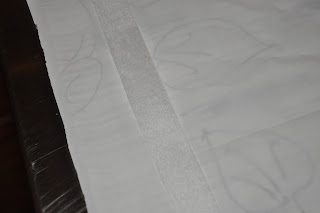
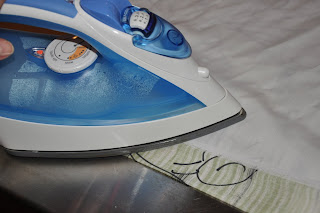
 Ta-Da!!- new window treatment, sans sewing machine, and in about 20 minutes! It's important to know that stitch-witchery obviously isn't going to hold as well as if the hems were sewn, but it is super fast, super easy, and if you're like me, and sick of decorations really, fast, this will do just fine until you move on to your next window treatment!