 Oh my gosh, do I ever have a tendency to embellish- and now it's not just with stories- With clothes too! Take for example this simple black dress (oh, and meet my dress form, her name is Angela)- I bought this dress at Target off the clearance rack for $17.99....I mean, it's okay for a little black dress, but as one of my sisters would say, "it's BOOOORRRRING me!".....hopefully, if I've done my job here well, by the time you get done reading this, and see the finished product, you'll think it looks a LOT cuter!
 So, I embellished the neckline to suit my own style!- Here's how I did it ...I found some old fabric that I had from a previous project and cut it in long strips, and sewed them together to make one very long strip- like 2.5 times the length around the neckline- then I gathered it to make a long ruffled piece (see the Missoni scarf post to see how I gather the fabric to make ruffles)- then I just pinned it on around the neckline and sewed it on! Throw a fun belt around your waist, and you've gone from BOOORRRING black dress, to a bit edgy, different, and definitely more fun!

This project is super easy, super inexpensive, and it adds a very original touch. Altogether, this project cost about $32.99: $17.99 for the dress, probably about $2 worth of leftover fabric, and the belt was $12.99 (from Target too!) You can do this with just about any piece of clothing....a really easy and fun project would be to find an old skirt (perhaps one you bought at Abercrombie & Fitch during freshman year, and now you're thinking to yourself, "how on earth did I ever think this was long enough to wear in public?")- Maybe you don't want to get rid of it, but it's definitely too short- so you add a thick ruffle to the bottom of it- adds length and jazzes it up!


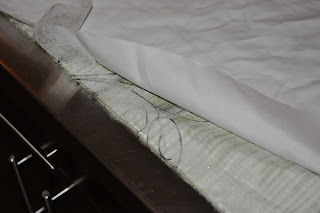
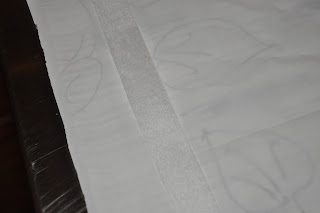
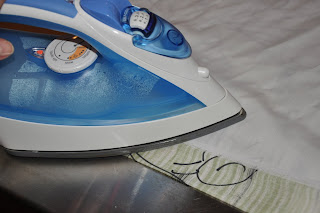
 Ta-Da!!- new window treatment, sans sewing machine, and in about 20 minutes! It's important to know that stitch-witchery obviously isn't going to hold as well as if the hems were sewn, but it is super fast, super easy, and if you're like me, and sick of decorations really, fast, this will do just fine until you move on to your next window treatment!
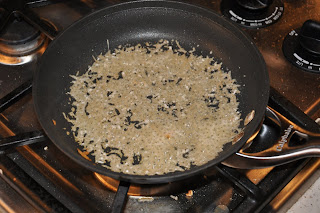 Once the parm is golden brown, loosen one side of the edges, slip the spatula or other utensil under the edge, and flip over. I find it helpful to slip the spatula under, and before flipping it, place a couple fingers on top of the parm to make sure it doesn't slip off the spatula- plus, using two hands will help guide the parm onto its other side in the middle of the skillet.
