So I know I've already blogged about this once, but seriously, I cannot get over the amazing-ness of this parchment meal that I recently made. It's from Martha Stewart's Everyday Food magazine, and she made it on the Today Show recently too. Now I know I vowed to be my own person and not just another Martha wannabe, but what can I say? The woman is a genius, or at least she has geniuses working for her, so I just have to share her recipe with you! It's incredible!!!
Ingredients:
1 large mango
2 chicken breasts
1 piece fresh ginger (about 1"), peeled and cut into matchsticks
1/3 cup fresh cilantro leaves
1 medium jalapeno, thinly sliced
salt and pepper
1 tablespoon extra virgin olive oil
Directions:
Heat the oven to 400 degrees. Peel the mango and slice into bite-sized chunks. Divide the mango chunks in half, and place them in the center of 2 large sheets of parchment paper. Top the mangoes with chicken, ginger, jalapenos, and cilantro. Drizzle 1/2 a tablespoon oil over each packet. Sprinkle with salt and pepper. Bring the edges of the parchment up to meet in the middle, and then fold them over, creating a seam. Twist the open edges, sealing the packets shut. Place packets on a cookie sheet and bake for 18-20 minutes. Once they're cooked all the way through, slide the contents of the parchment packets onto plates and ta dahhh! YUMMO!
 Lately I have been laboring over what to do with the island in our kitchen- it has been a blank canvas for a long time (minus the candle I put on a pitiful plate and tried to pass it off as a centerpiece for a while), and so I have been trying to figure out how to dress it up to fit with our kitchen. For some reason when I think of centerpieces, I always think of old-fashioned, overly flowering arrangements. I knew I wanted something more simplified and modern, so the idea of orchids came to me. I have this really cool glass pedestal bowl that I had no idea what to do with, so it finally came to me to fix it up with the orchids to make a centerpiece that is more permanent (provided that I can keep the orchids alive), yet still made up of living things. I heard Oprah say once that centerpieces should always be made up of real things- fruit, flowers, pine cones, whatever, but something real- not plastic. Now I don't typically put a lot of stock into anything Oprah says, and this statement of hers is an easy one to make for someone with billions of dollars and probably her very own personal centerpiece-maker on the payroll, but for whatever reason, it stuck with me. So here's to putting together something modern looking and made of (mostly) "real" things that can serve as a centerpiece for a long time!
 I used my own glass pedestal bowl, and I bought fake greens and preserved moss at Michael's and used them to line the bowl and to add a giant flash of green. Then I bought 5 orchid plants (from Kroger, mind you, so they were relatively inexpensive) and a bunch of fake curly willows. Where the orchids came clipped to ugly blue posts, I swapped out the posts for the curly willows as I planted the orchids to give them the stability they need to stand up. So I'm at peace now with the large centerpiece I have to dress up our kitchen island- and it should last me a long time, which will make it cost-effective in the long run (again, provided I don't kill the orchids). P.S....learned a very cool trick about how to keep the orchids alive- they need very little water- 3 ice cubes, once a week will do it!

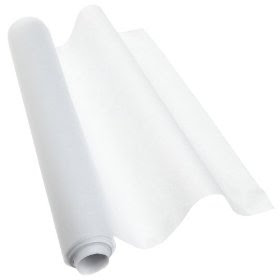
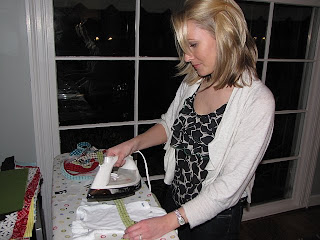 This is such a fun and easy activity and it's a great way to get everyone involved in the party without making them play painful baby shower games! (even the guys got involved with this one!) Have fun!


